Bravo has a user interface based on a single window that allows multiple connections.
Here is a brief tour of all features:
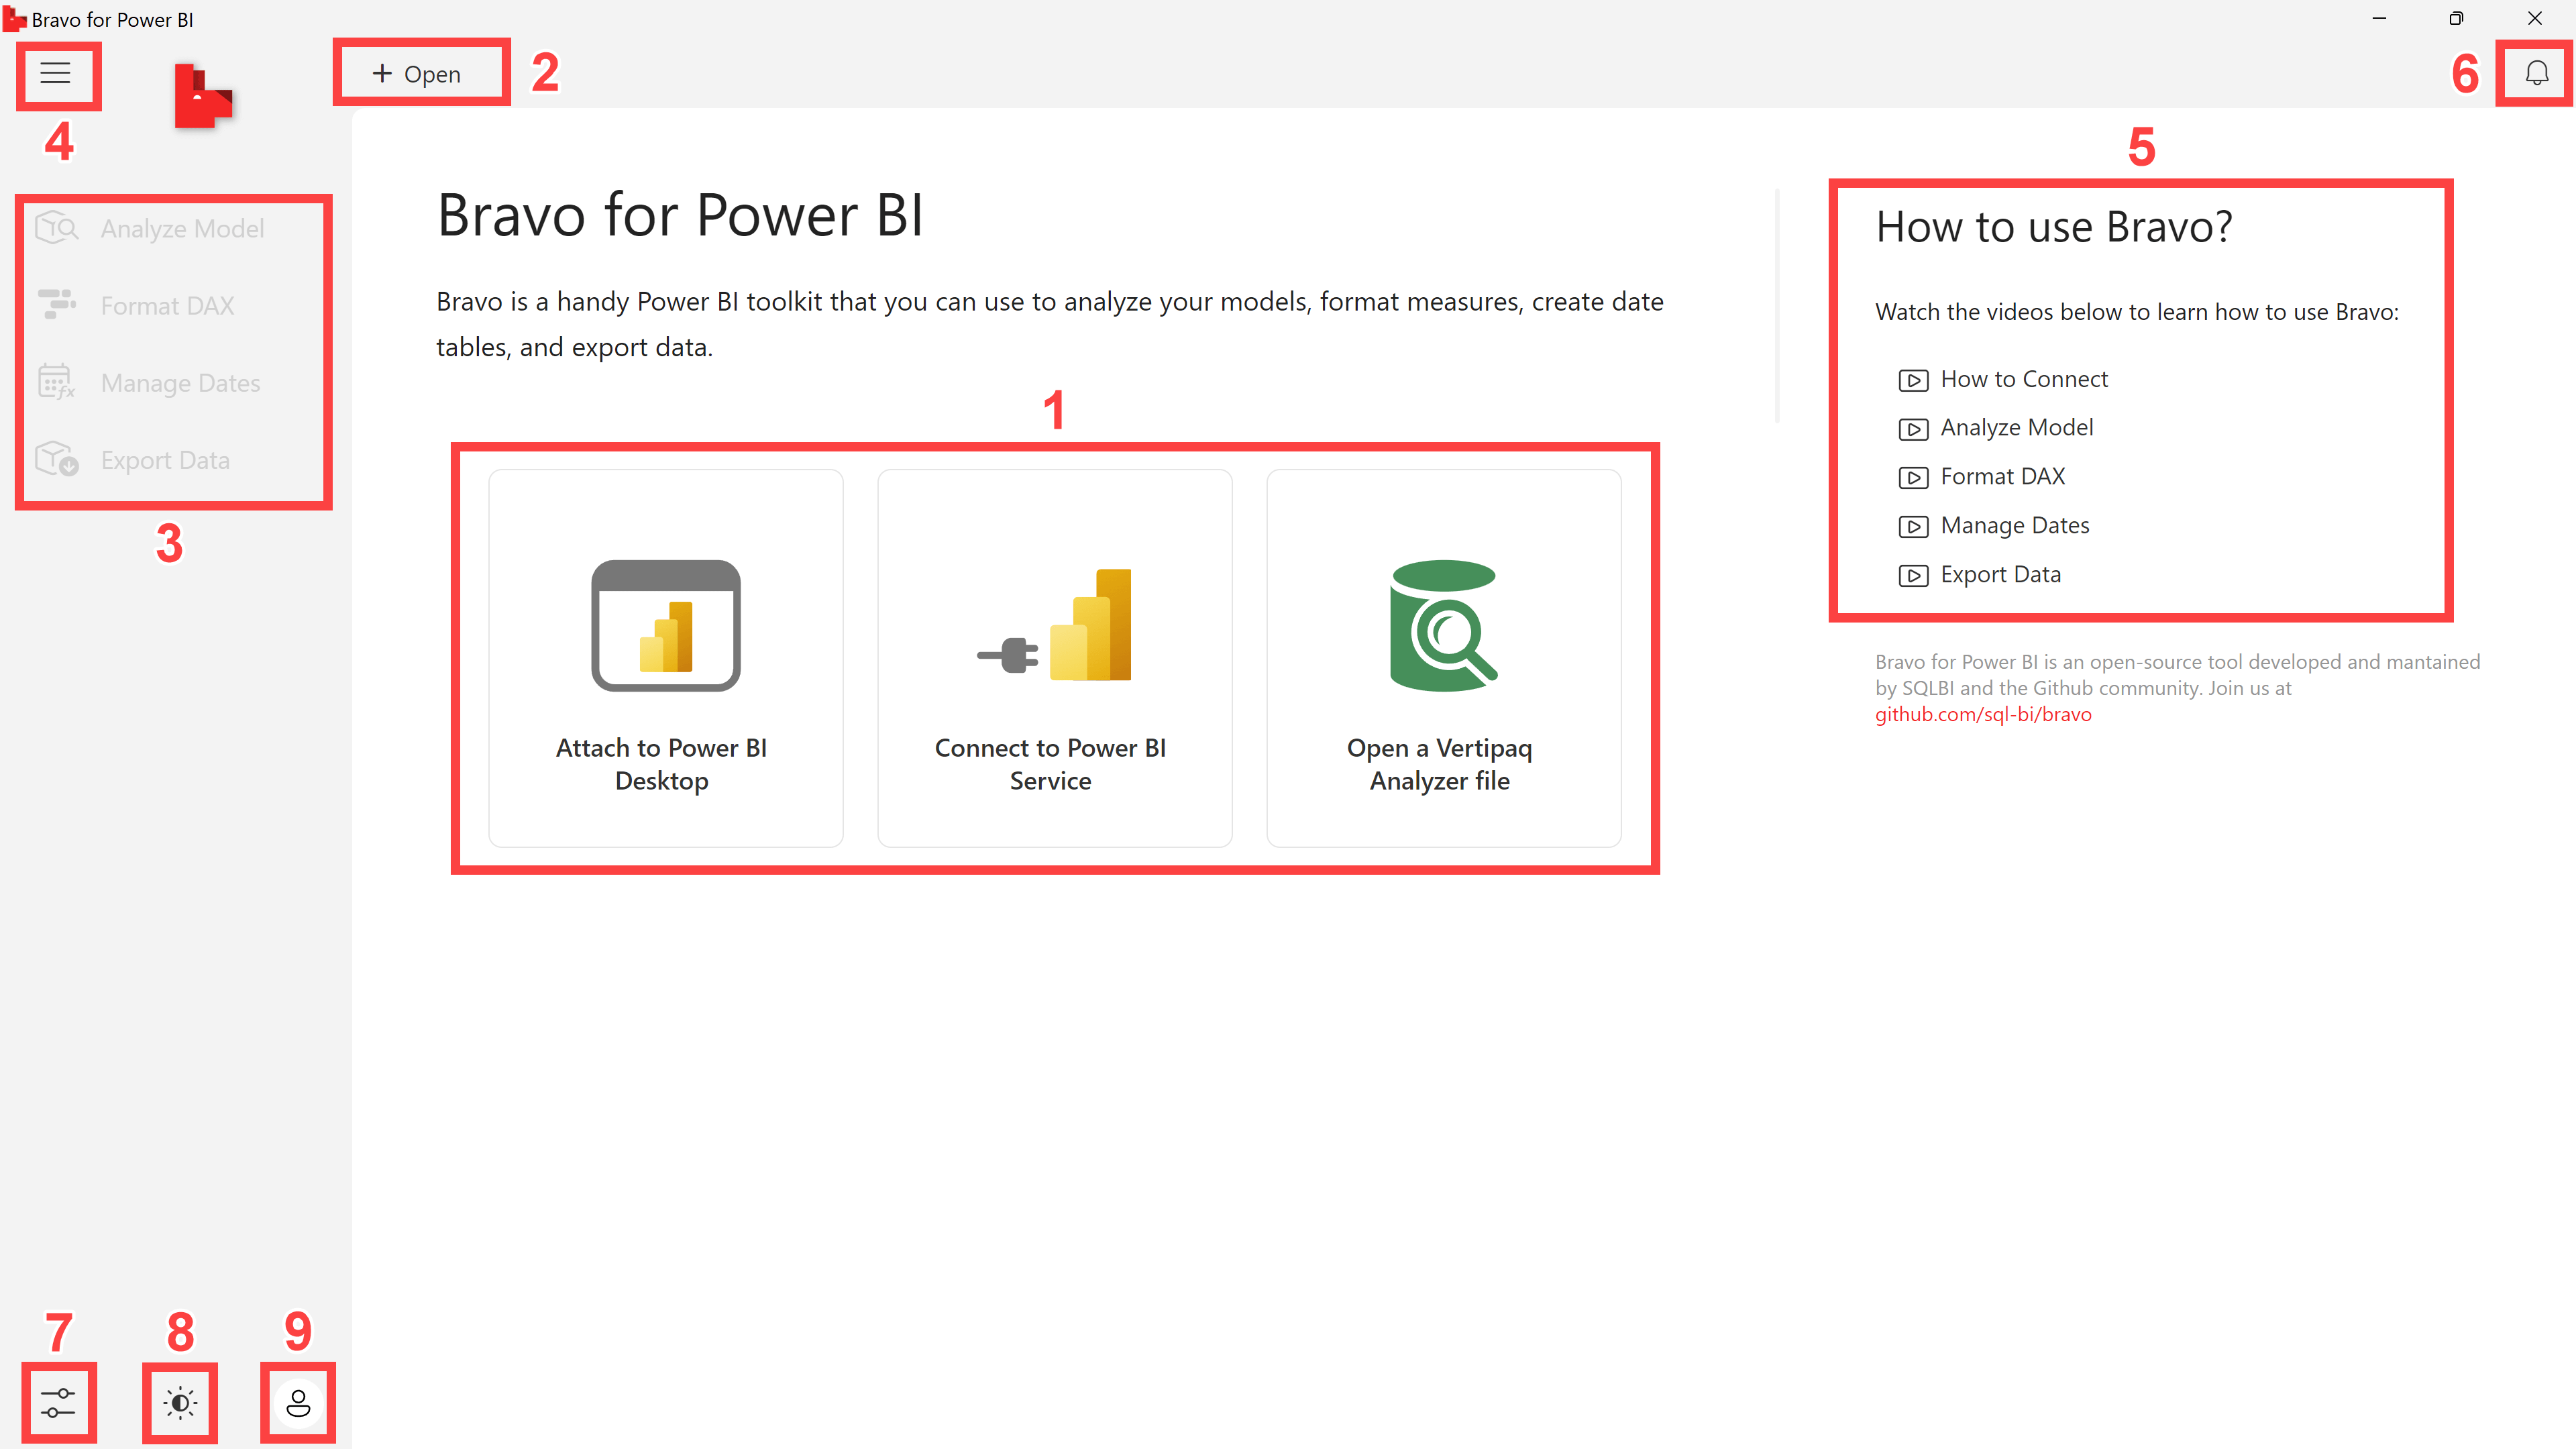
- Creates a connection to a model in Power BI, or loads a VertiPaq Analyzer file.
- Opens a new connection
- Operations available on the selected connection. They are all disabled where there are no open connections. Each operation is applied to the tab that is currently active.
- Collapses or expands the operations pane.
- Opens documentation and help videos.
- Opens the Alert pane showing important messages like new updates available.
- Opens the Options dialog box to specify all the settings for Bravo.
- Theme selection
Switches between light theme, dark theme, or automatic. The default setting is automatic, which chooses between light mode and dark mode based on Windows settings. - Login/logout
Login to the Power BI service, required to connect Bravo to a dataset published on Power BI service. The first time, Bravo may request the username to locate the right endpoint for the authentication. During the sign in, a browser window appears to complete the login process. Login is not required to access local files. Bravo remembers log in credentials on following runs, just like Power BI Desktop does: use the same button to explicitly Logout.
Other two common elements of the user interface appear in all the operation pages.
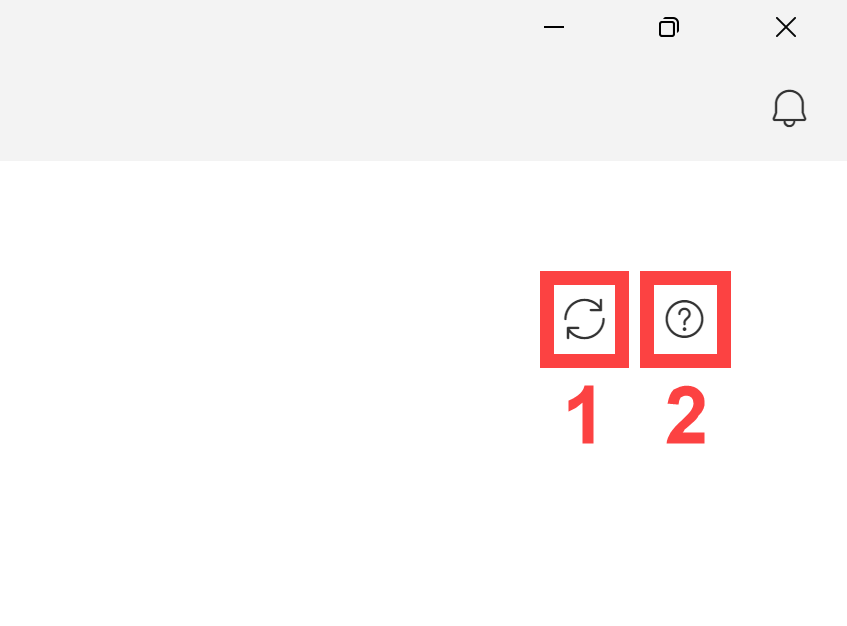
- Synchronize
Synchronizes the information in Bravo with the information in Power BI Desktop. For example, if you add a measure or import a new table, you can update the information in Bravo by clicking the “Synchronize” button. - Help
Opens page in a browser window pointing to the documentation.